

A. Canvas Stage
The canvas stage is the primary phase where you work with AI to polish your pages.
Focus on page structure, core copy, image assets, and mobile responsiveness during this stage.
Focus on page structure, core copy, image assets, and mobile responsiveness during this stage.
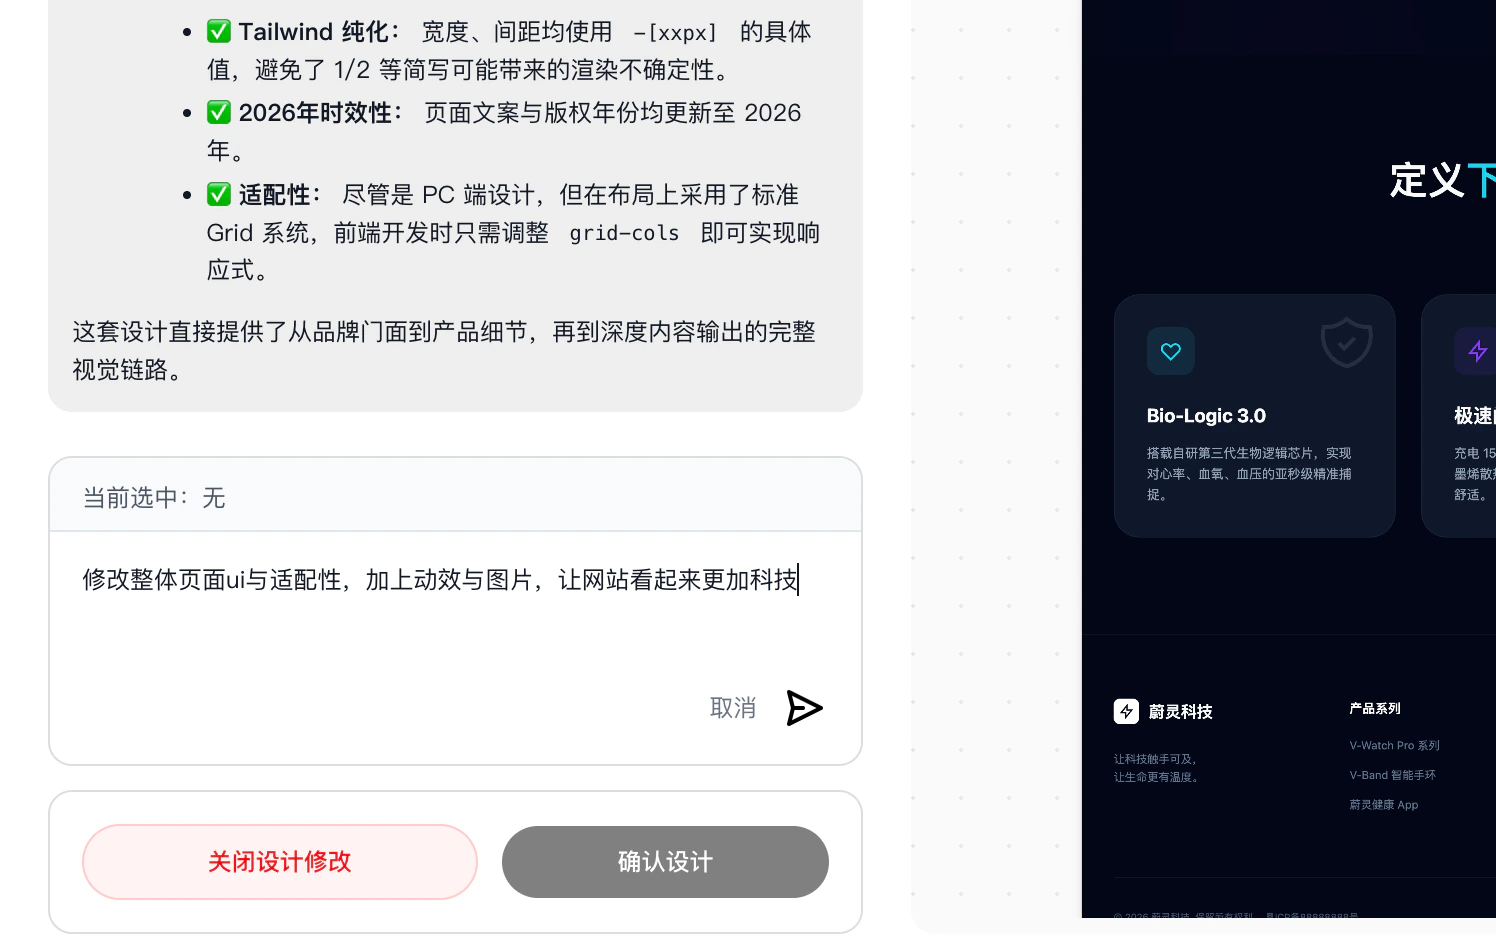
1. Dialog Editing (Click “Modify Design” in canvas)
Best used for:
- Changing overall style (e.g., cleaner, more techy)
- Adding or removing page modules
- Adjusting page content structure
- Unifying copy tone
- Adding page descriptions, selling points, or conversion entry points
Describe like this (more precise = better results):
- Make the homepage cleaner, reduce text stacking, and highlight the main brand visual
- Add a customer case study module to the homepage with a consultation button
- Rewrite this website to be more suitable for overseas audiences
For more accurate changes, include both “what to change” and “what to change it to” in a single sentence.
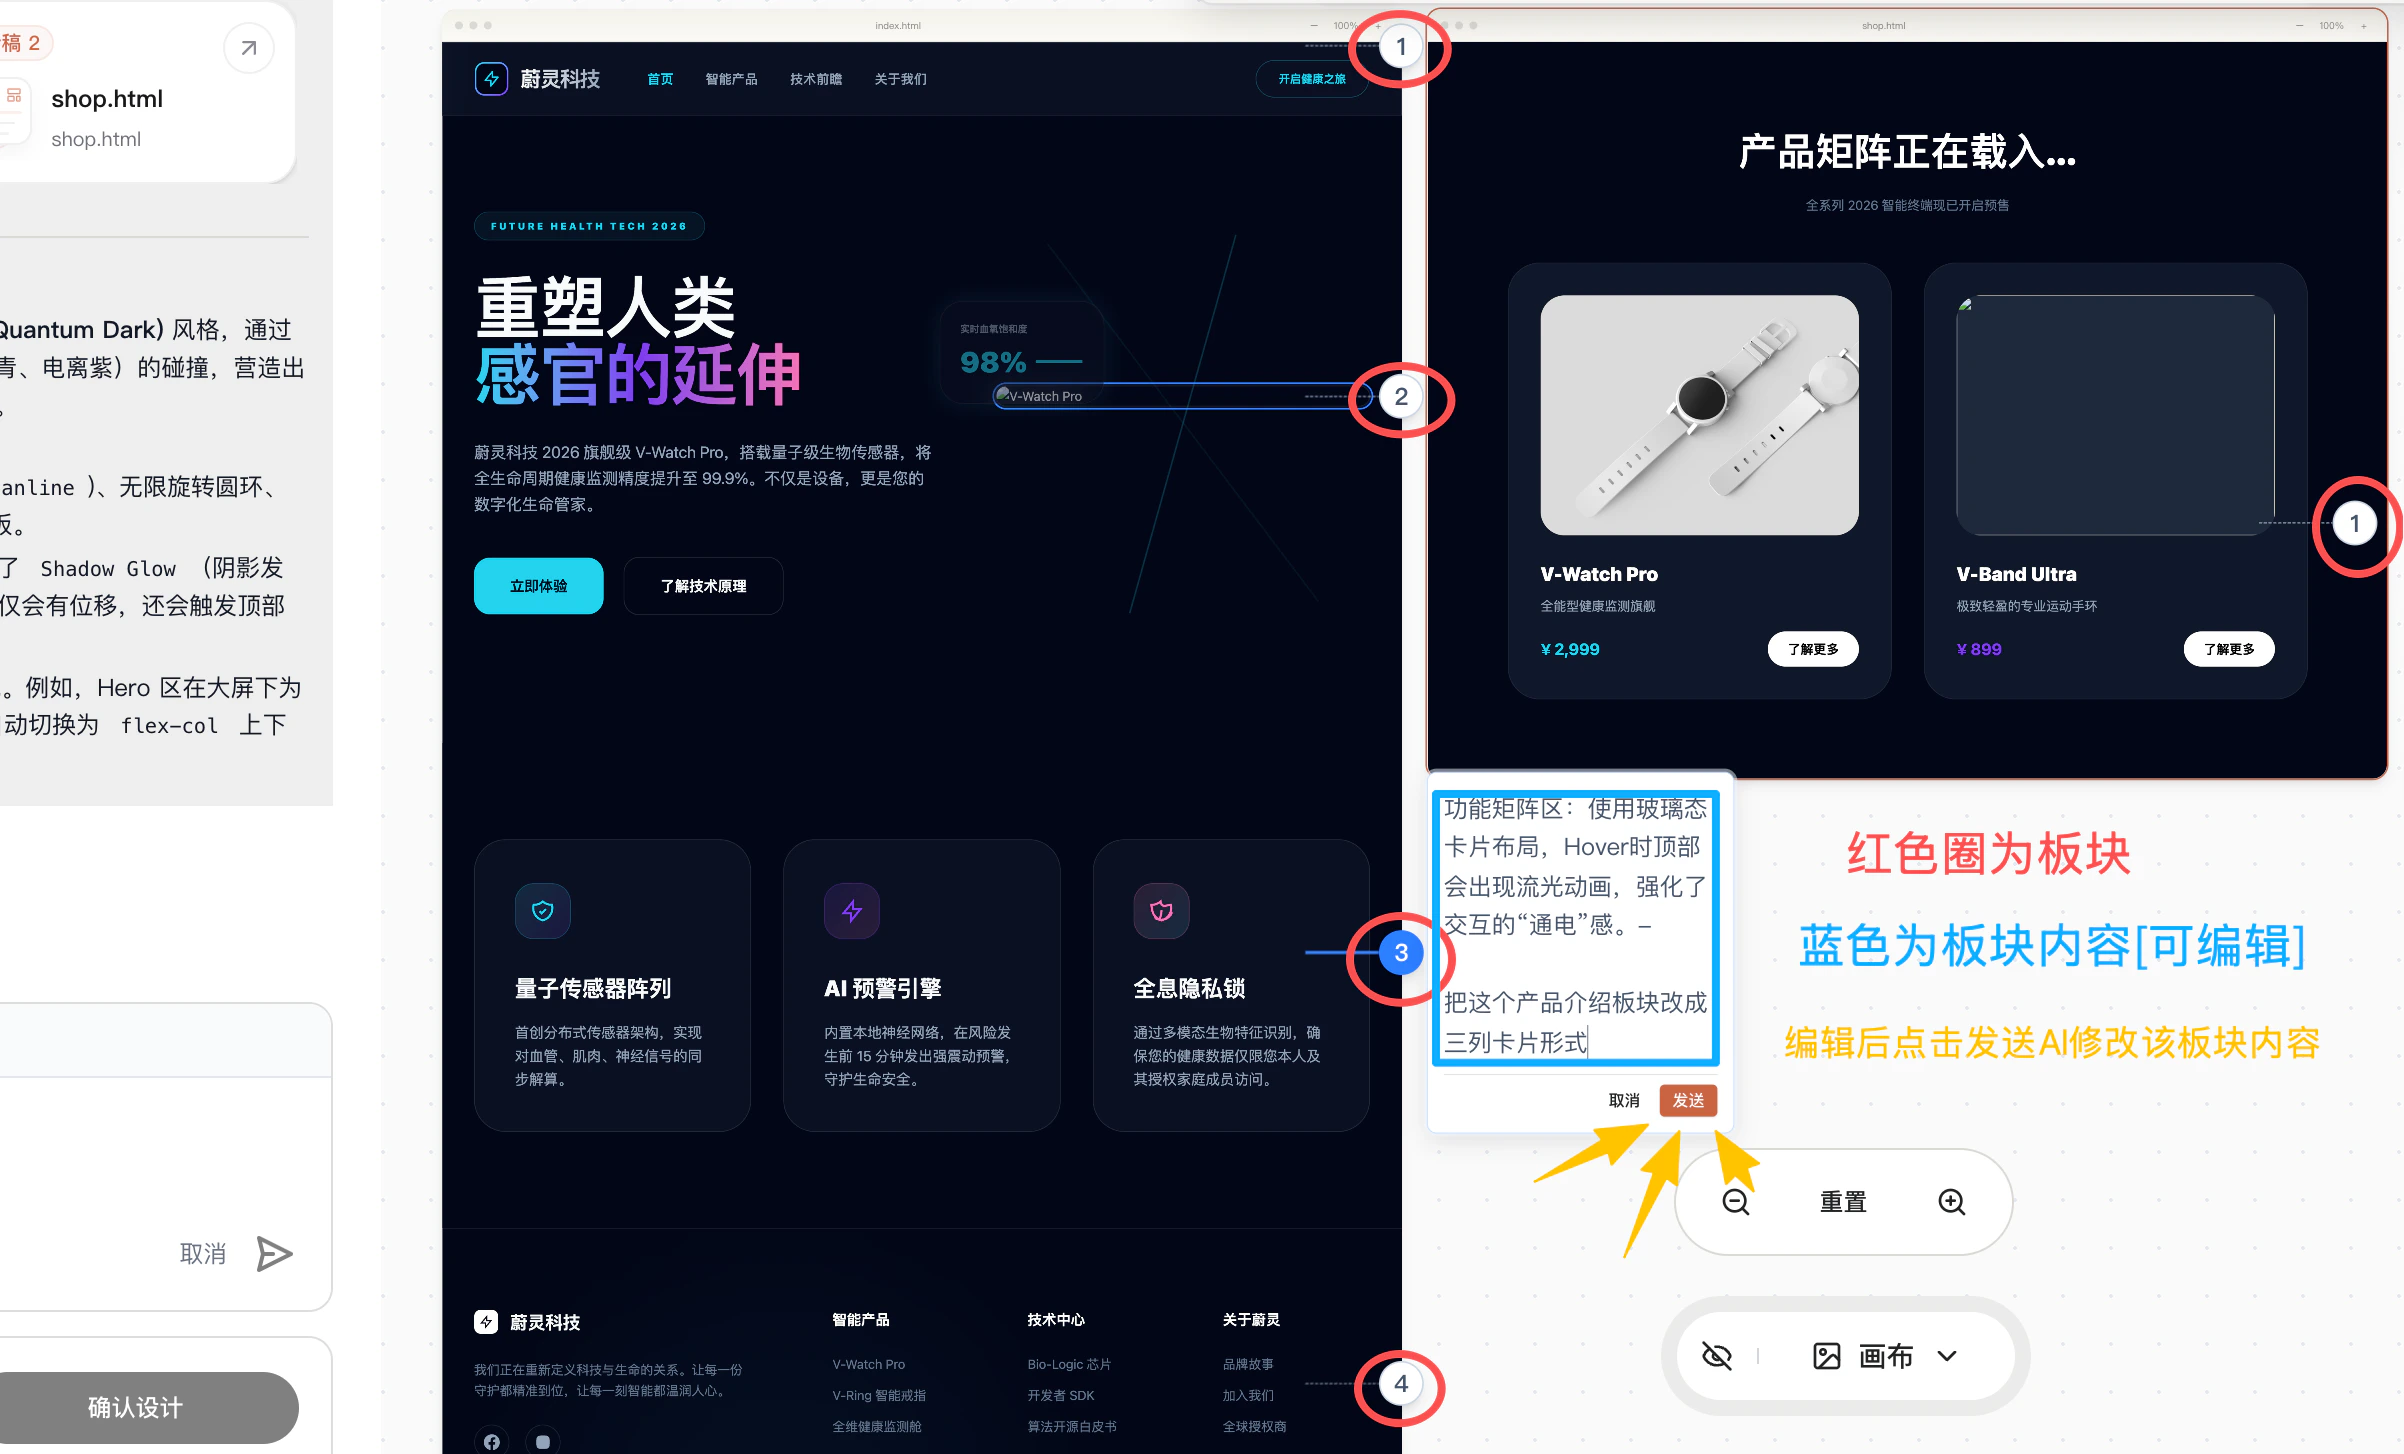
2. Section Editing (Click section numbers in canvas)
Common sections include (automatically matched to your generated pages):- Banner area
- Product introduction section
- Service process section
- Case study showcase
- Contact us section
- Footer information
- Change this product intro section to a three-column card layout
- Make the case study section title more persuasive
- Remove this duplicate content and replace it with customer benefit descriptions
This method works best when you’ve confirmed the overall page direction and just want to optimize specific areas.
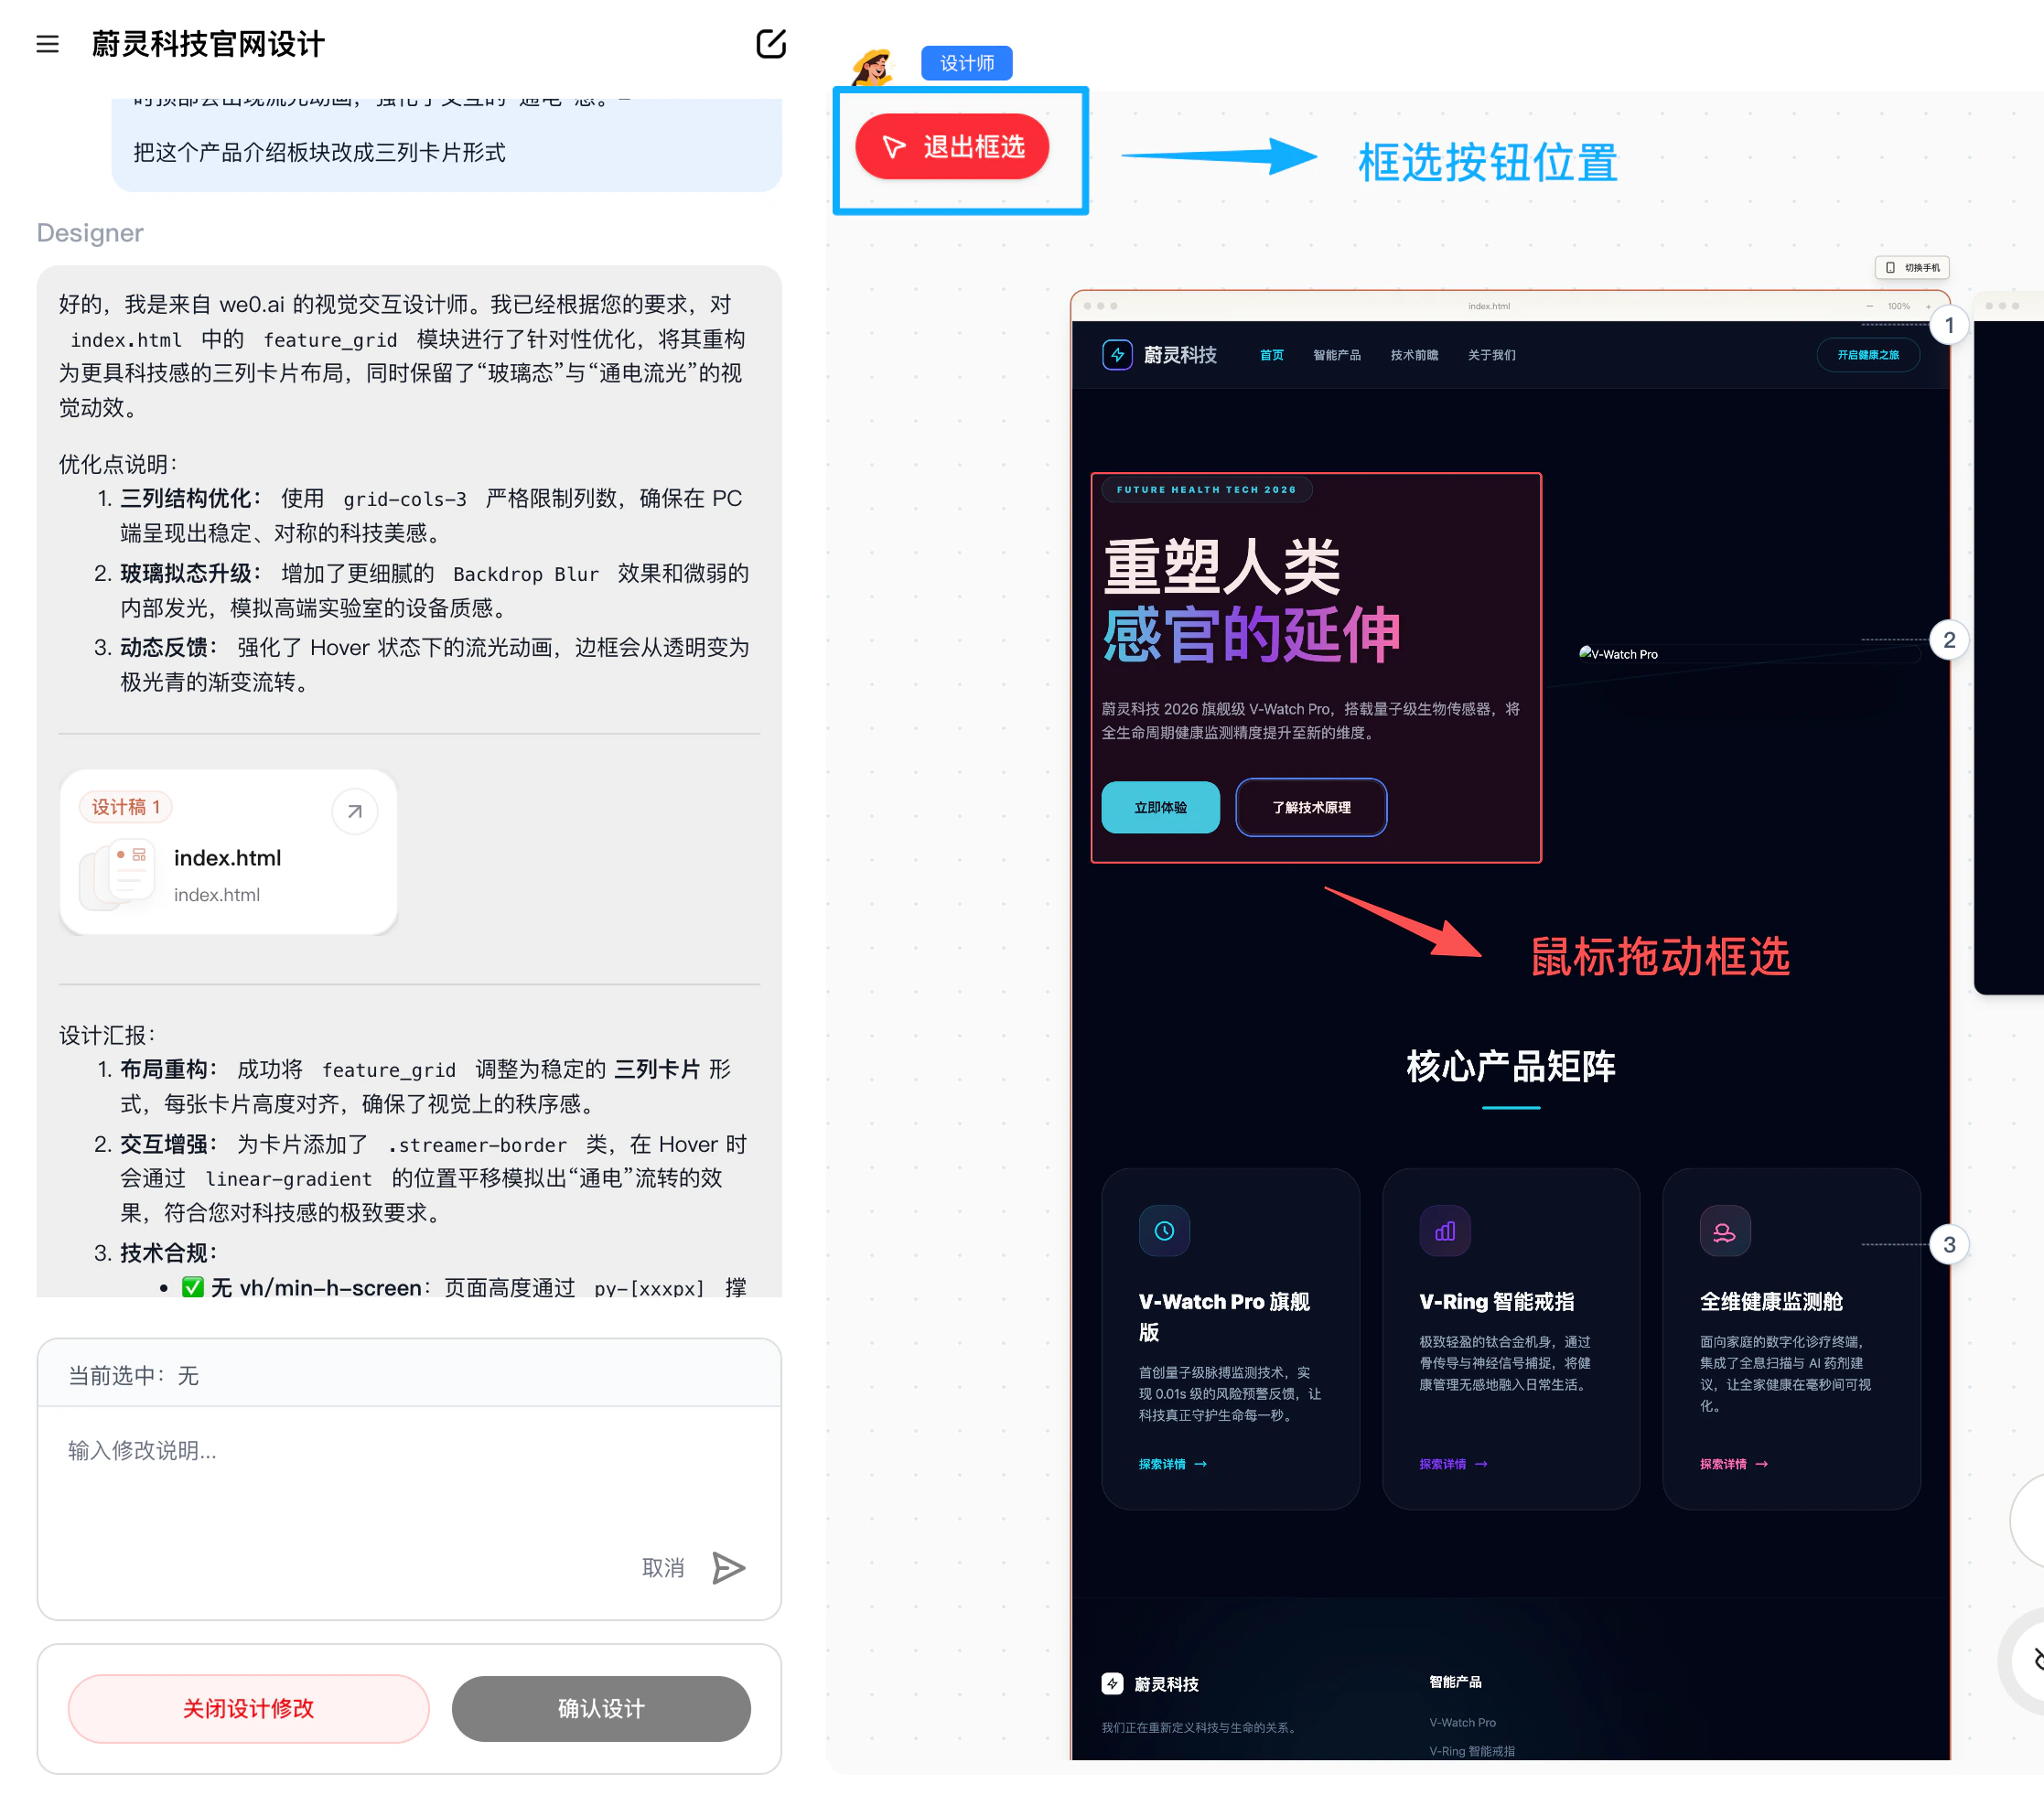
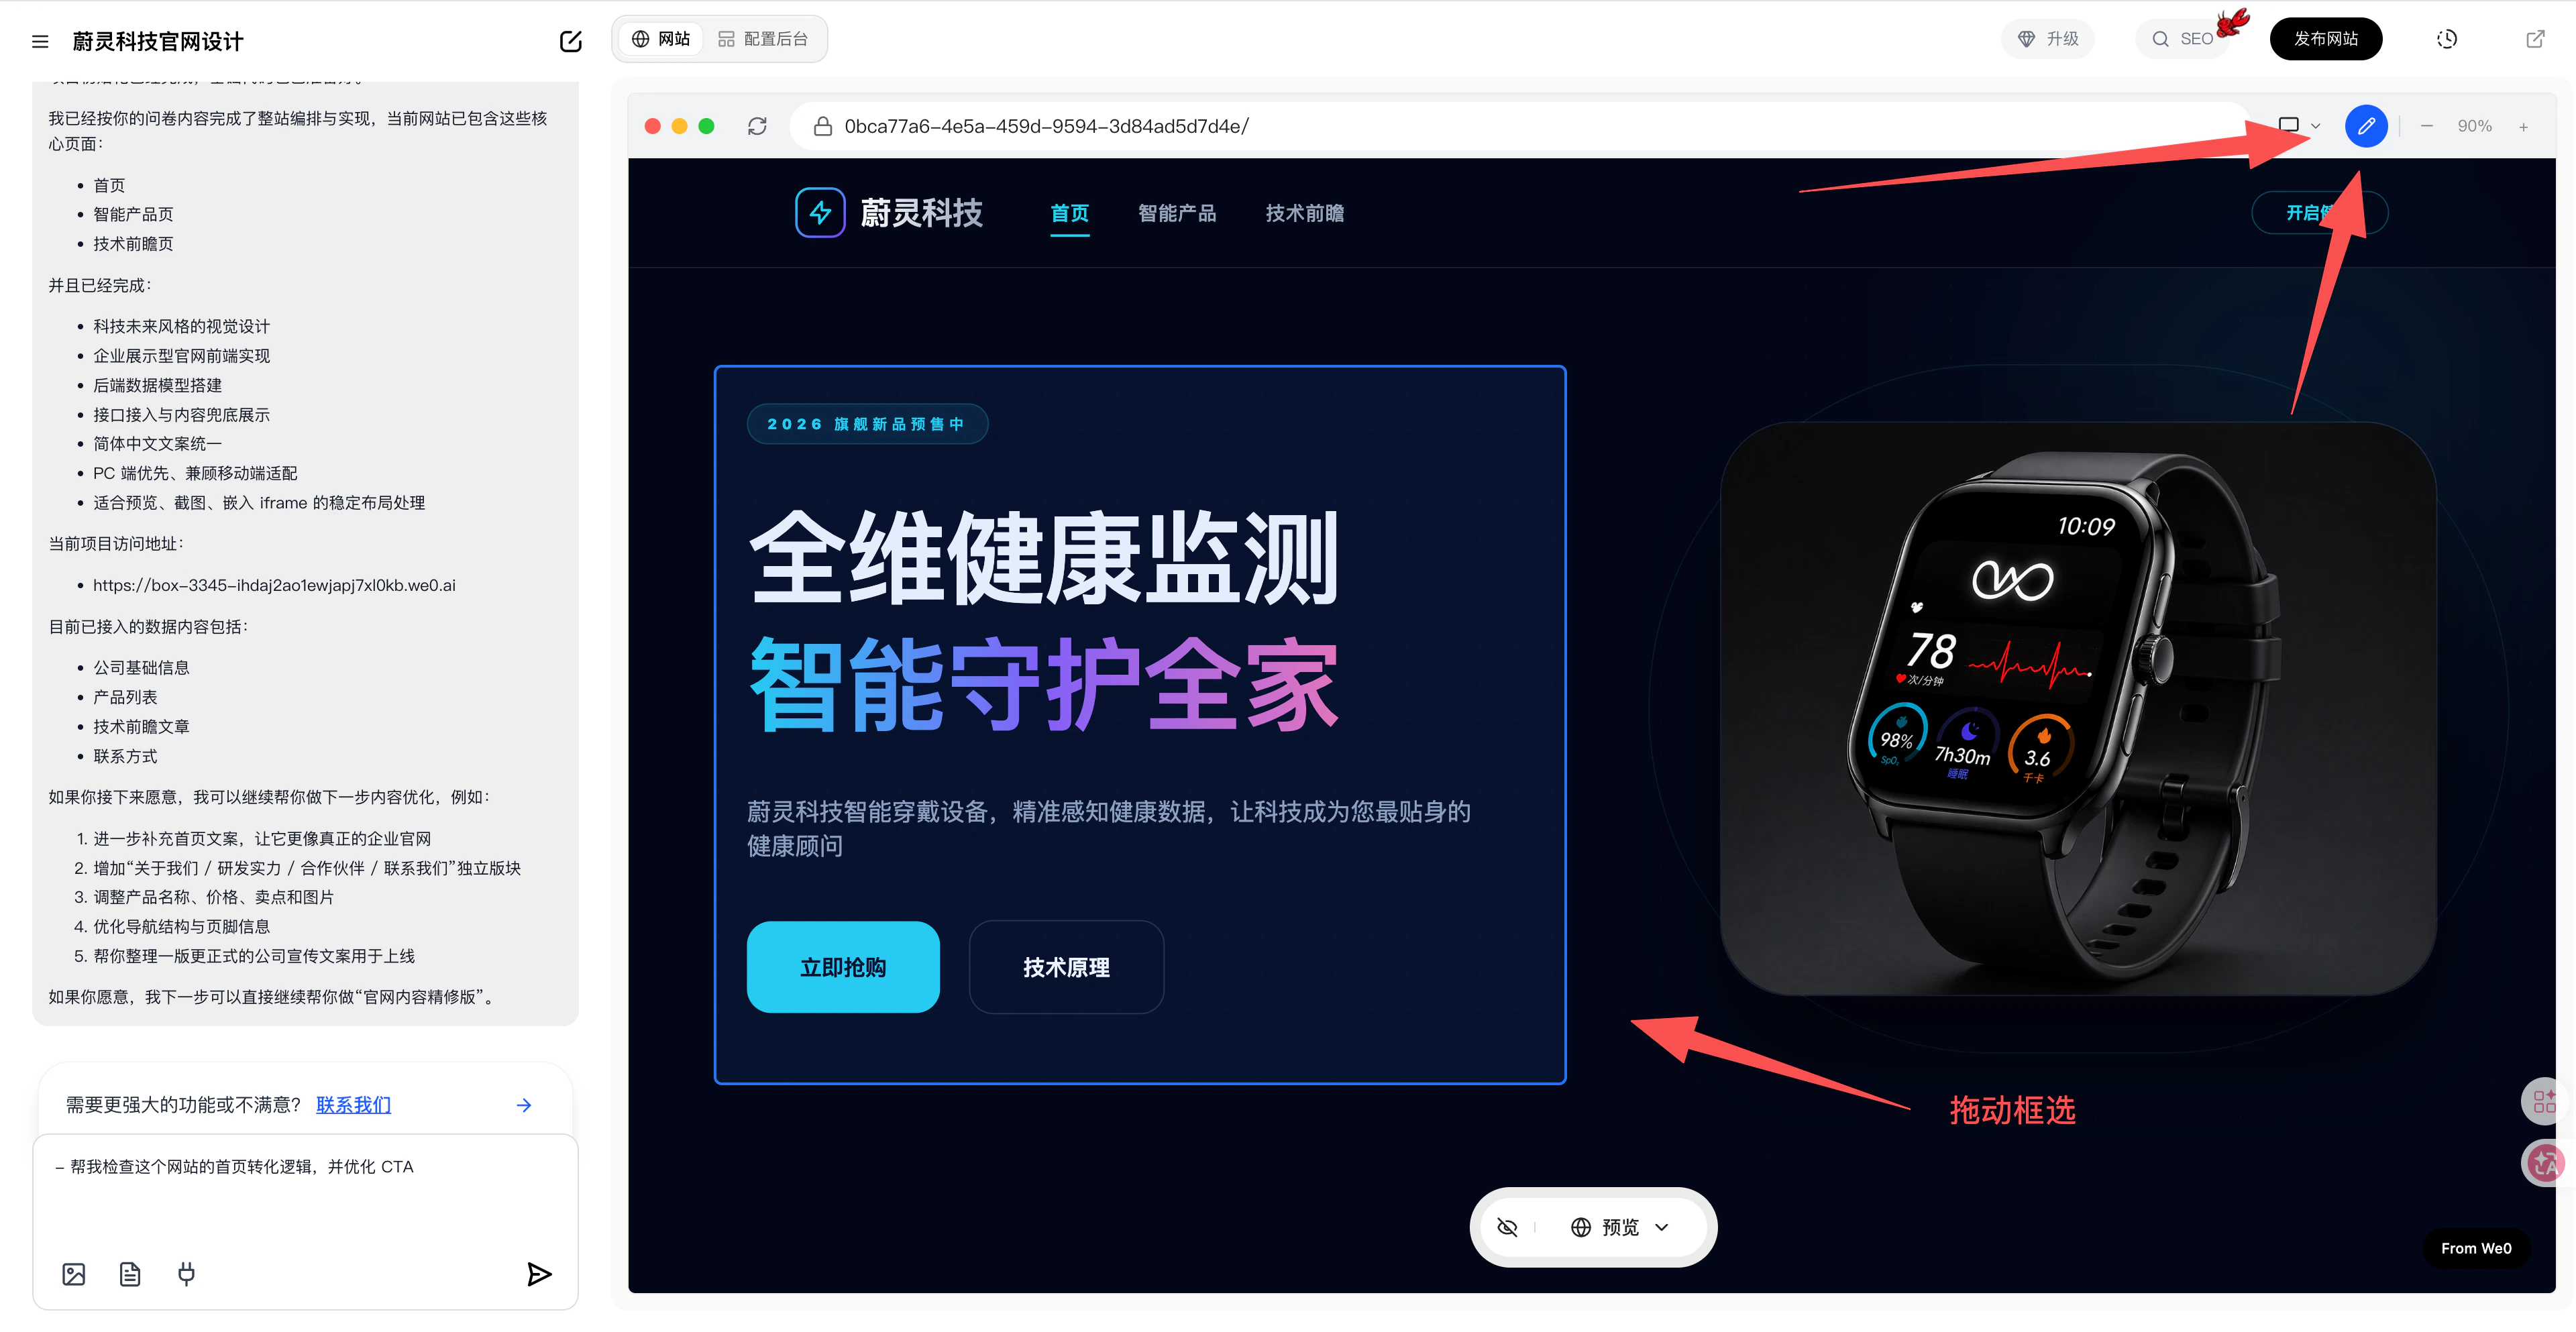
3. Box-Select Editing (Click the selection button in the top-left corner of canvas)
Best suited for:- Adjusting an entire content block at once
- Re-laying out a specific area
- Unifying style or information hierarchy within a region
- Having the AI reorganize a block of content
- Select this block and change it to a better converting hero section
- Select this group of content and make the layout more compact
- Select this area, keep the core information, and simplify the rest
If you feel “the problem is in this area, but you can’t pinpoint exactly which line,” box-select editing is usually very helpful.
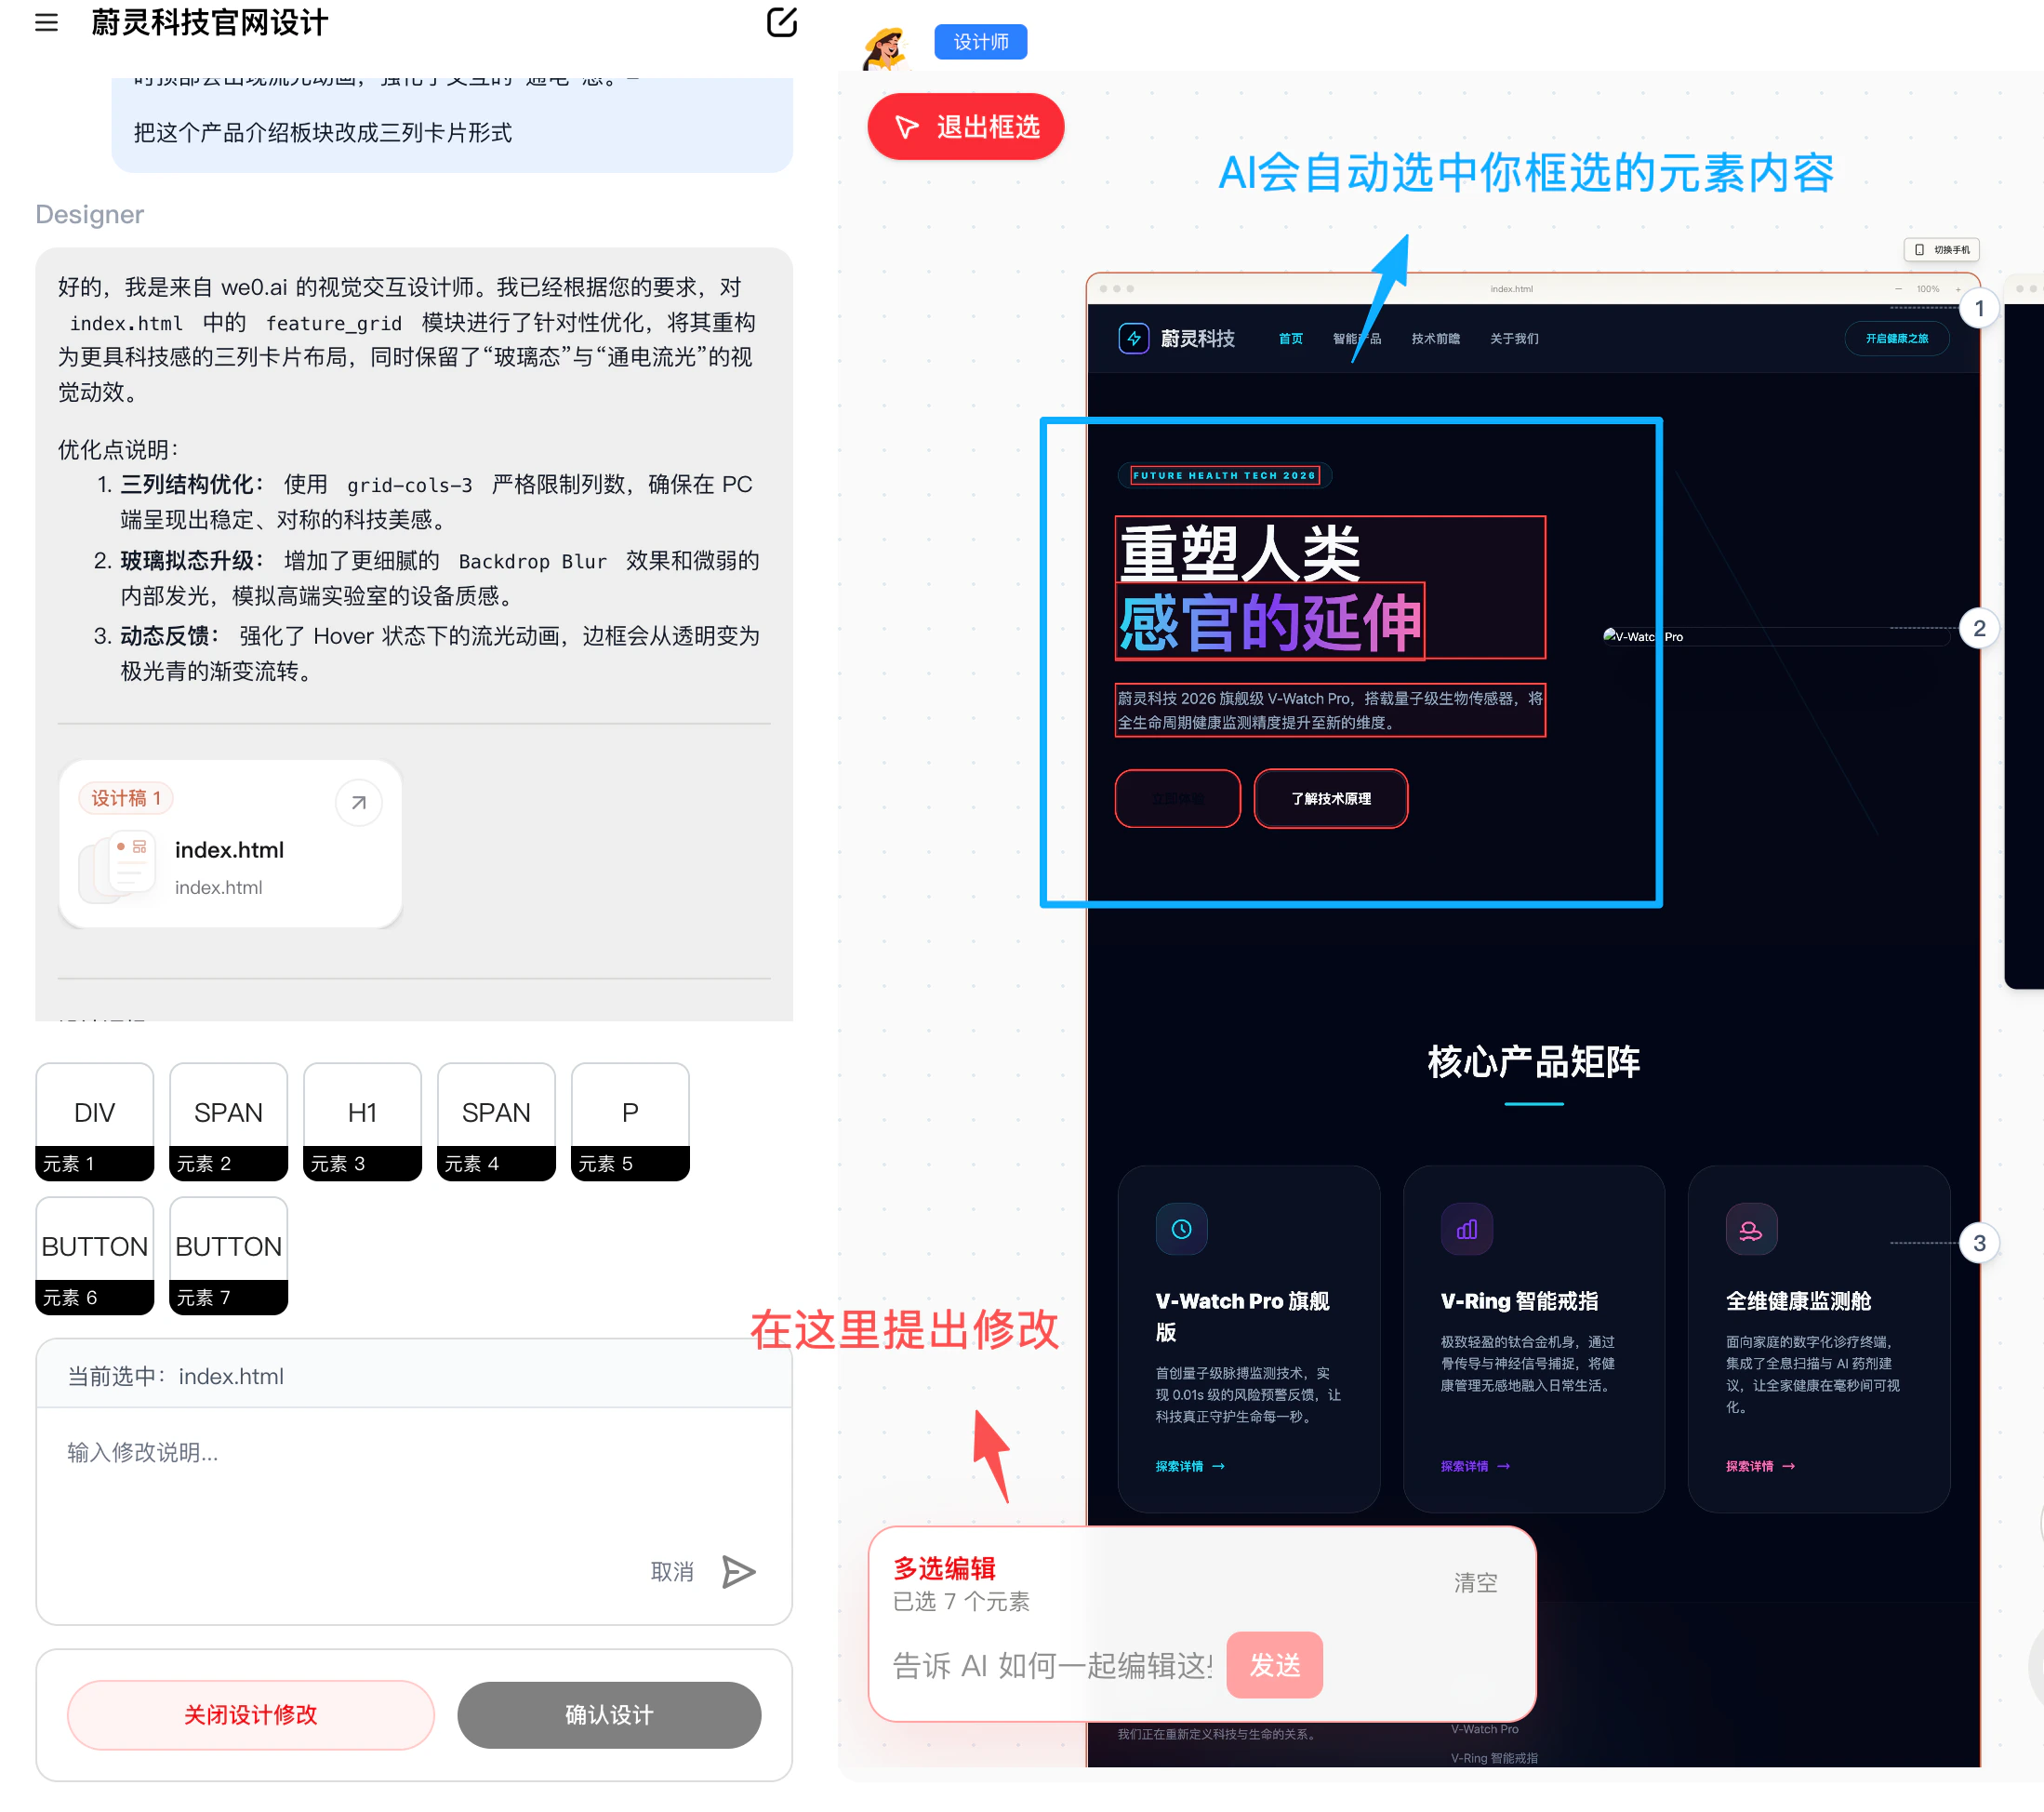
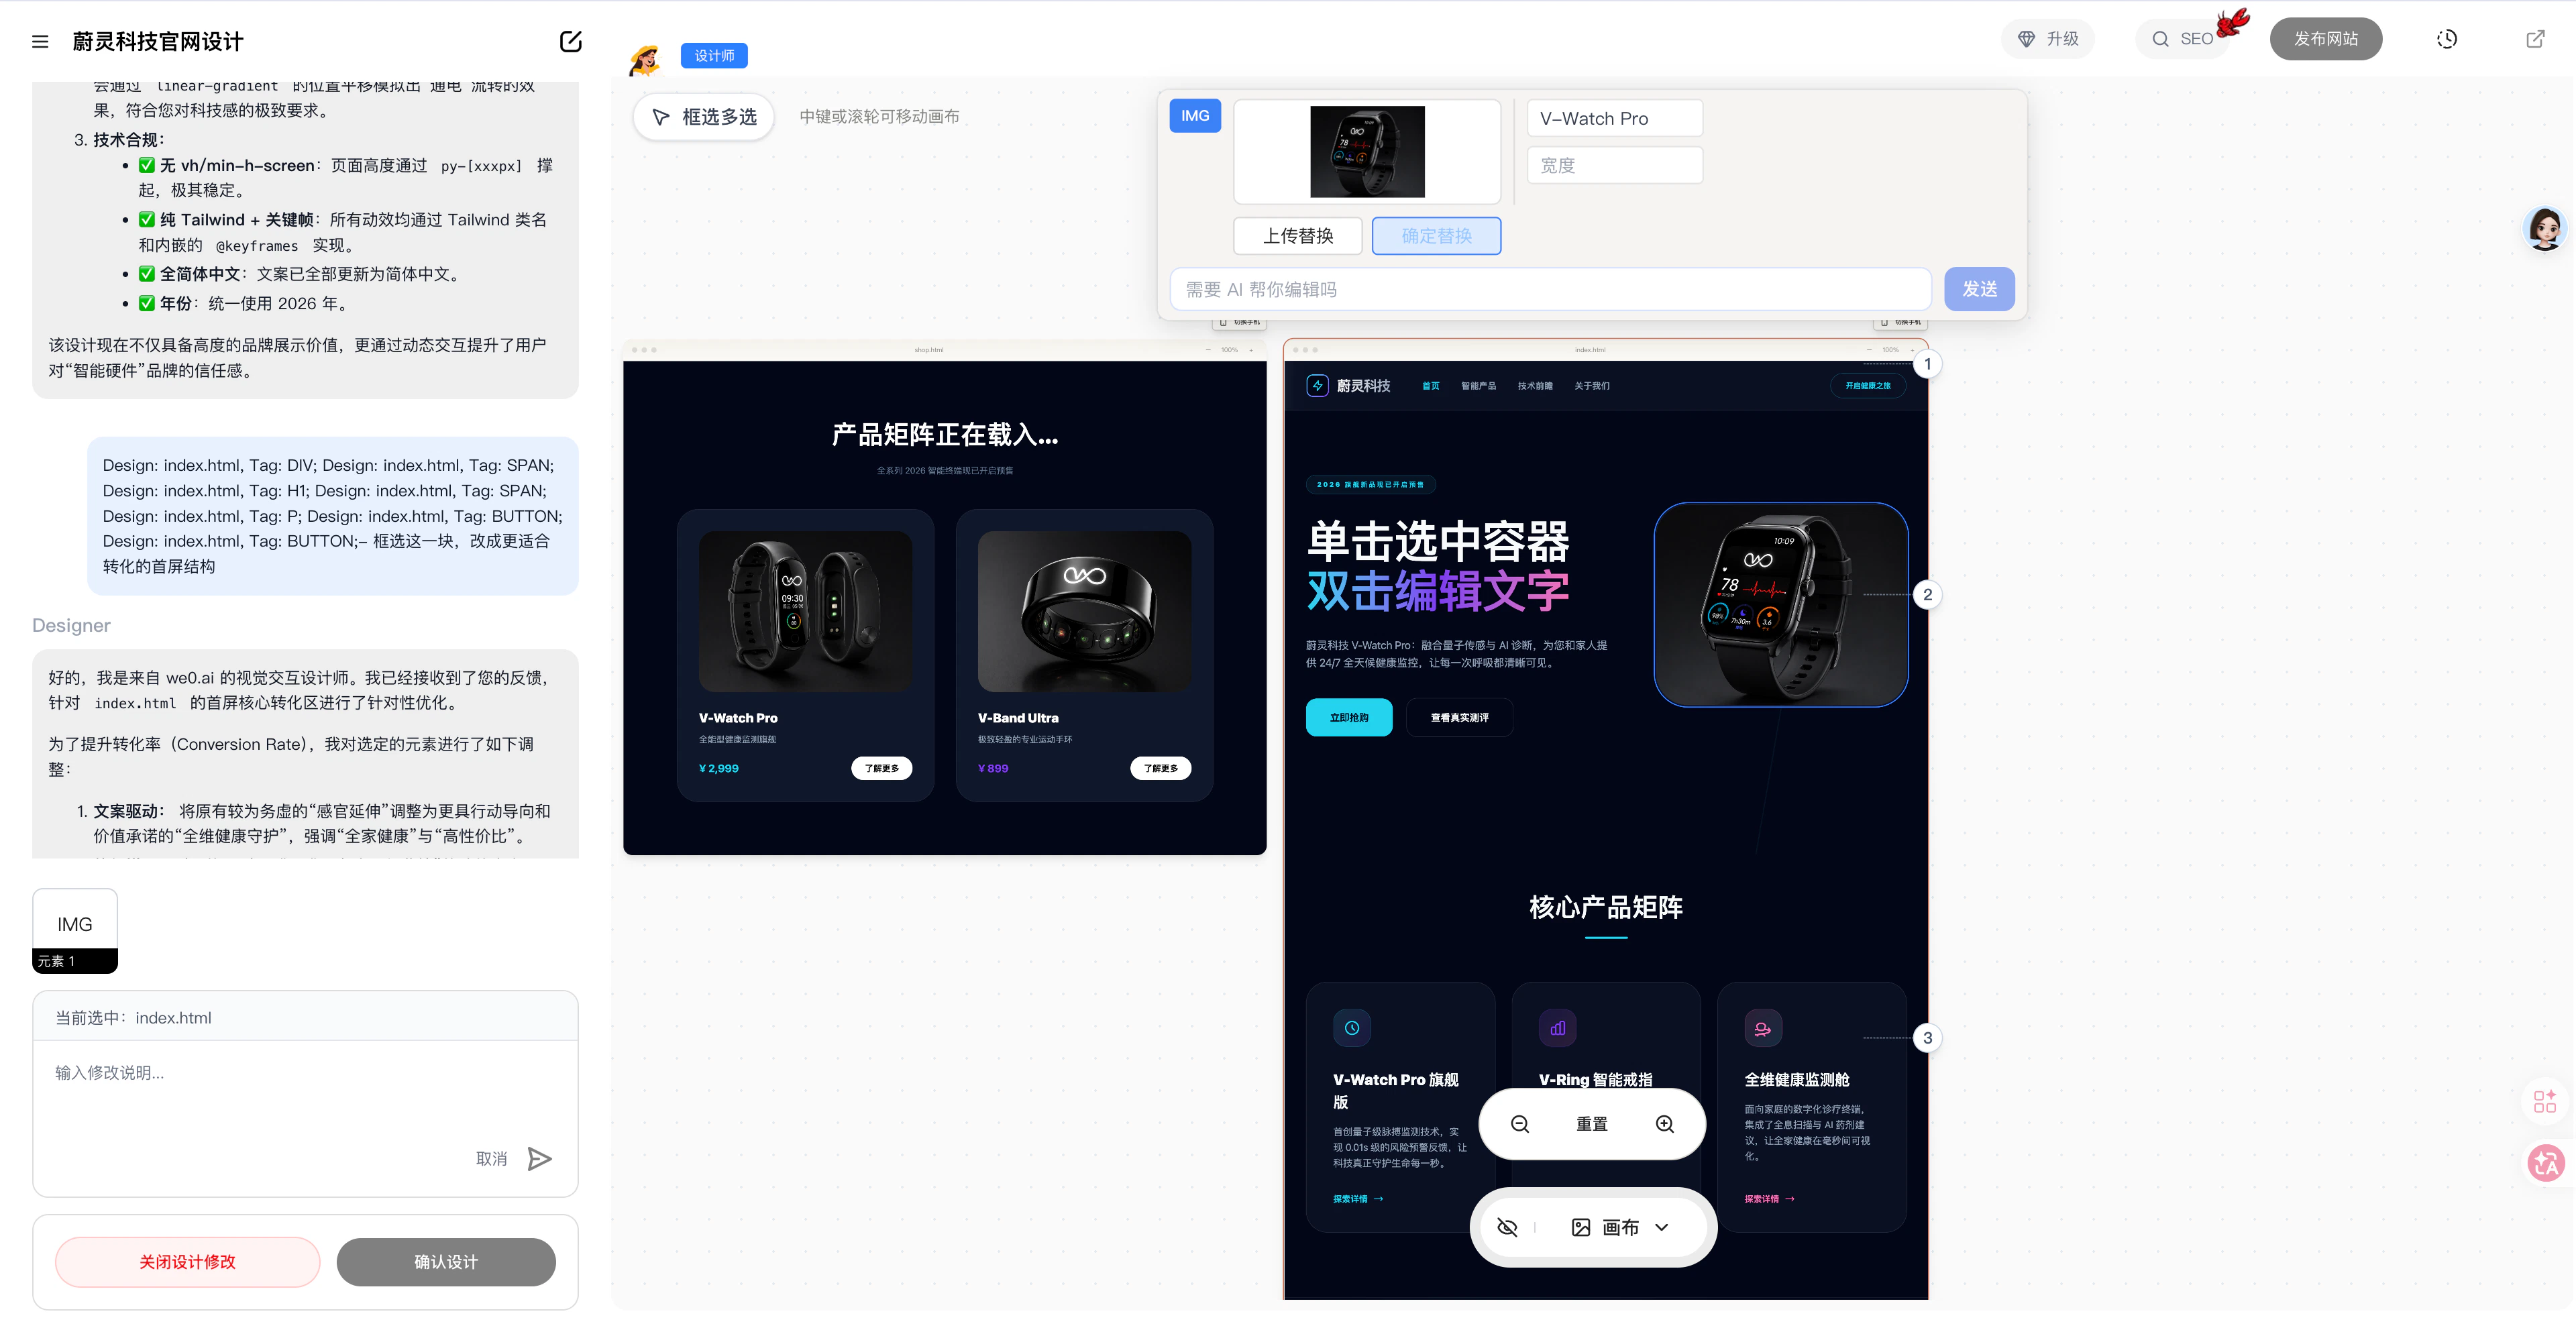
4. Element-Select Editing (Select a container in canvas)
Best used for:- Editing a specific heading, subtitle, or body text
- Adjusting button copy
- Modifying a number, label, or descriptor
- Fine-tuning a specific image or small element’s position and expression
- Replace the AI-generated case image with your own product photo
- Change this button text from “Learn More” to “Book a Demo Now”
When you only want to change one specific point without affecting the surrounding content, use element-select editing first.
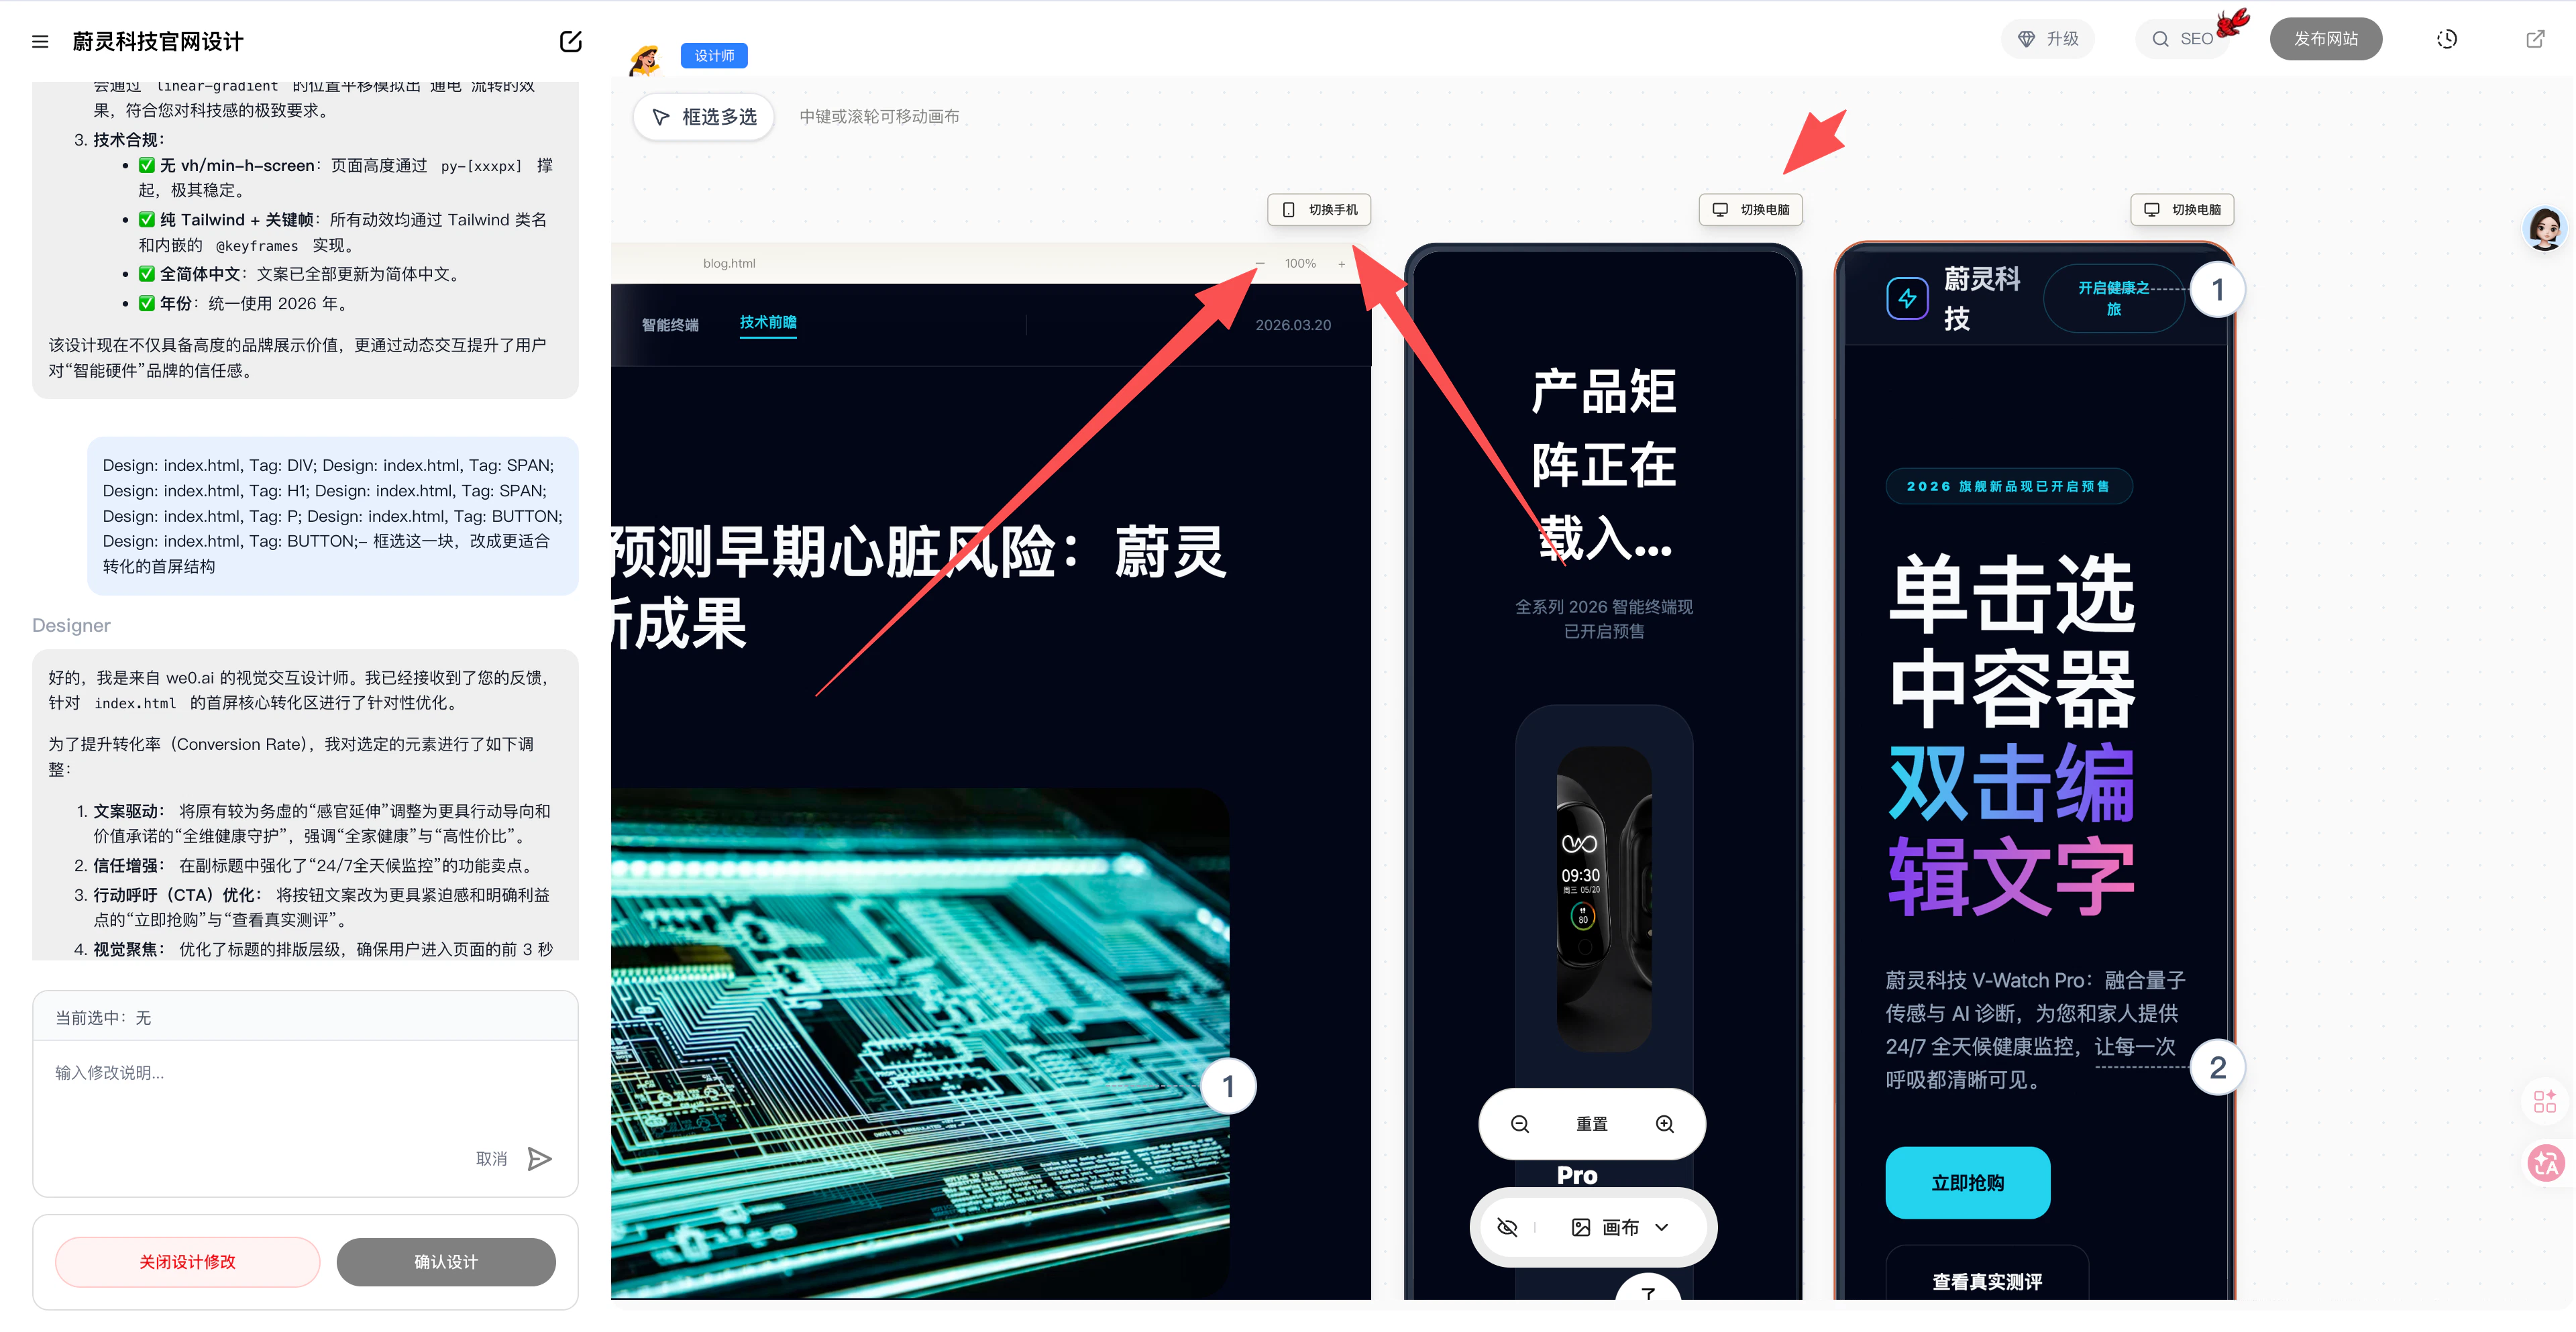
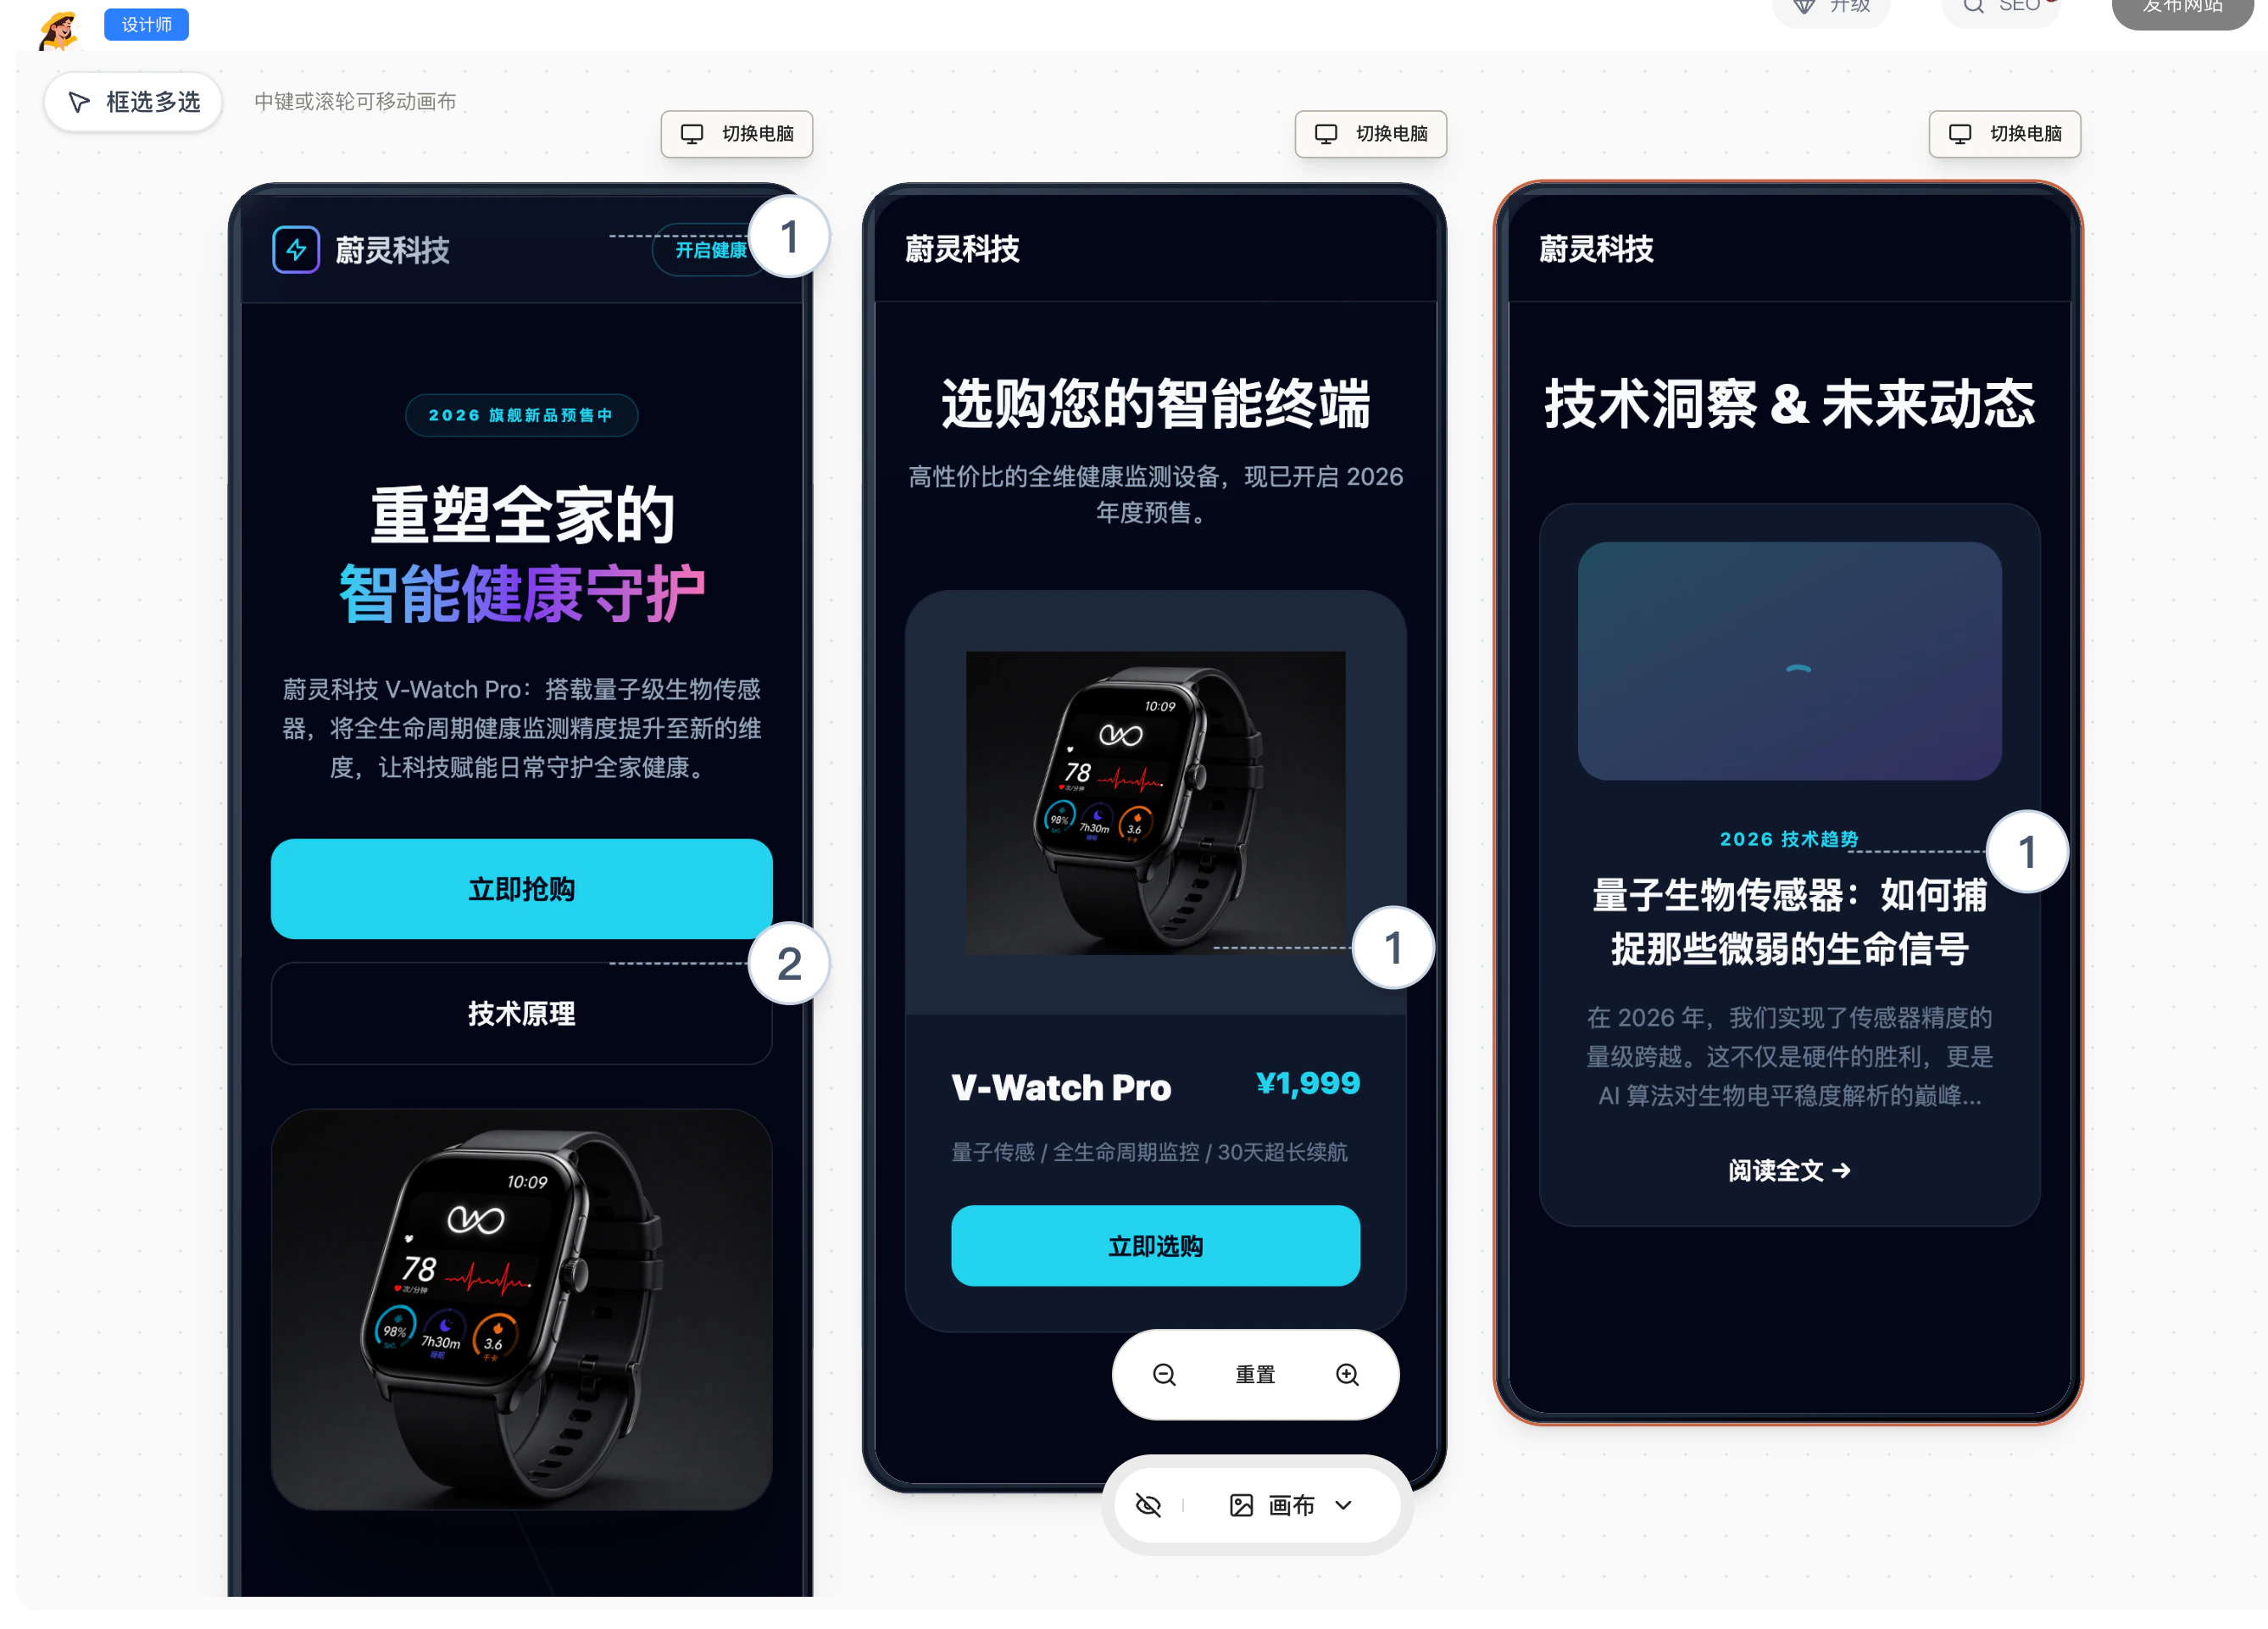
5. Mobile Preview (Click the mobile toggle in canvas)
We recommend switching to mobile view to check pages during the canvas stage.
- Are titles too long?
- Are paragraphs too dense?
- Are images being cropped?
- Are buttons easy to tap?
- Is the spacing between modules comfortable?
- Are forms and contact info clearly visible?
- Add mobile responsiveness for all pages
Mobile isn’t something to add at the end — we recommend perfecting it during the canvas stage.
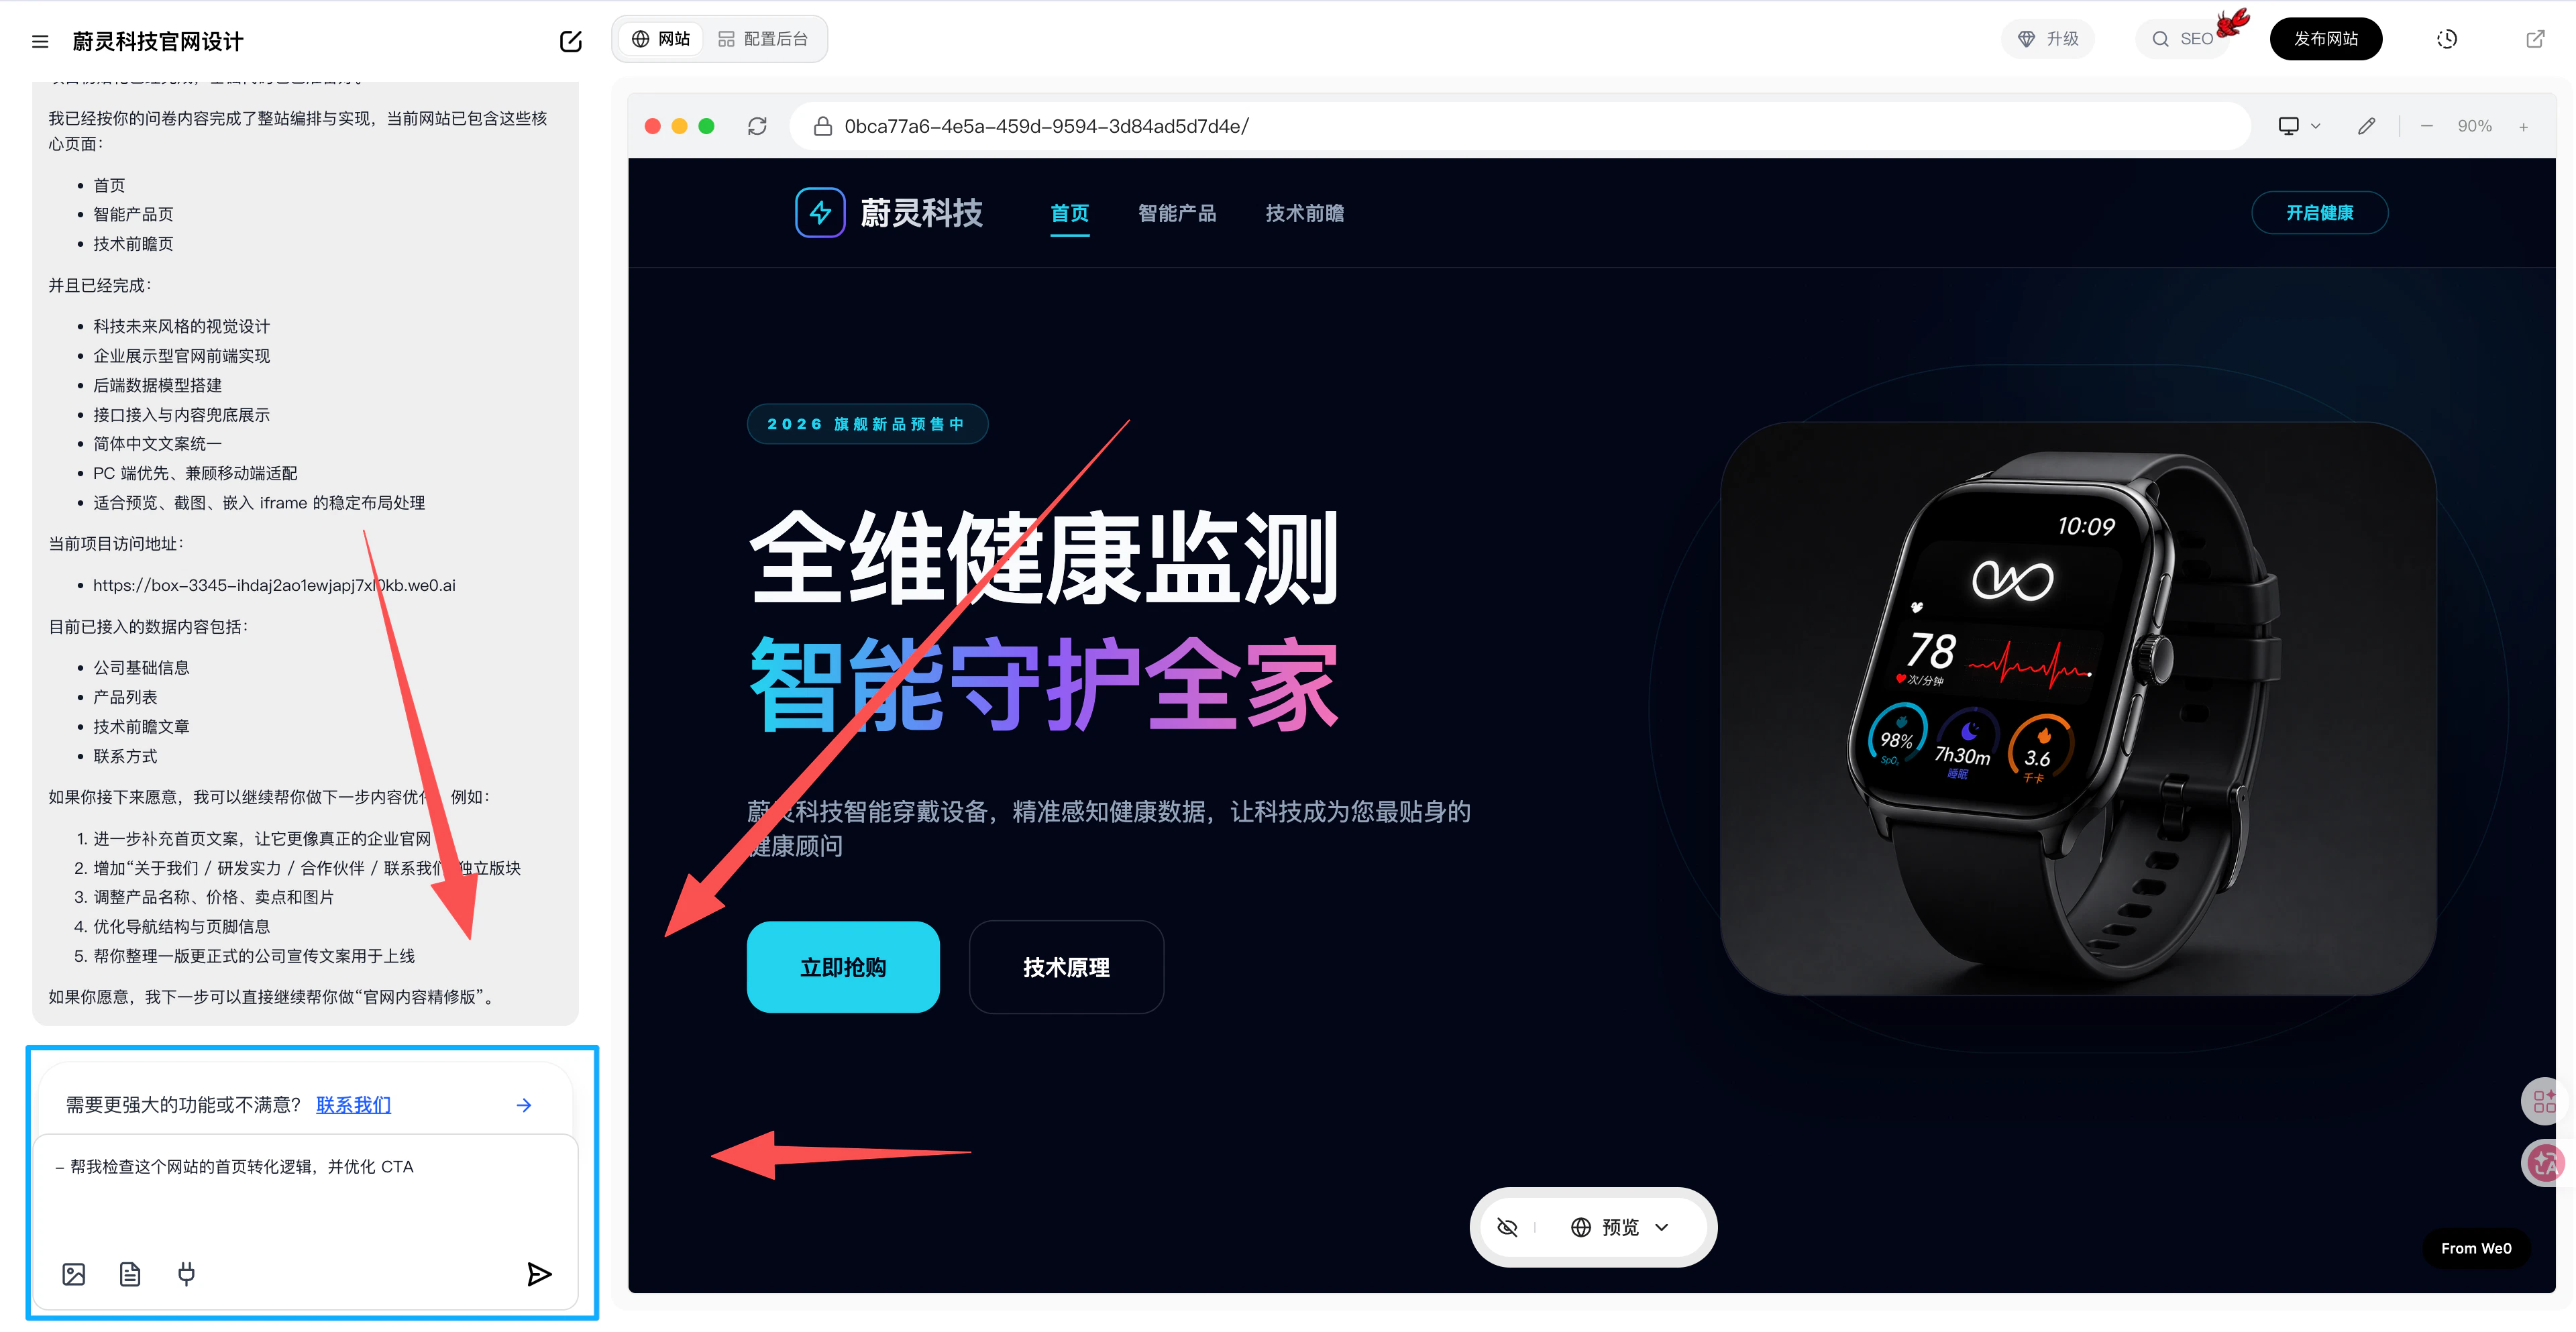
B. Preview Stage
The preview stage is closest to the final live state. At this stage, put yourself in the shoes of a real visitor and continue refining the website from the perspective of “can they understand it, can they use it, can they convert.”
1. Dialog Editing
Examples:- The homepage looks good, but the selling points aren’t clear enough
- Contact info is there, but the conversion entry isn’t obvious enough
- Some pages have incomplete content
- The user browsing path isn’t smooth enough
- Check this website’s homepage conversion logic and optimize the CTA
- Unify the copy across these pages to a more professional brand voice
- Fill in the missing content on this page
The focus at this stage isn’t “adding more content” — it’s making the website more complete, smoother, and closer to a usable final state.
2. Magic Brush
Best suited for:- A section that looks inconsistent
- An element in the wrong position
- A local area that needs a quick copy or style change
- Quickly fixing a batch of small issues before launch
- Too much whitespace here — tighten it up
- This button isn’t prominent enough — make it stand out more
- This image doesn’t match the copy — replace it
If you already know exactly where the problem is on the page, the Magic Brush is usually more efficient than re-describing the entire page.
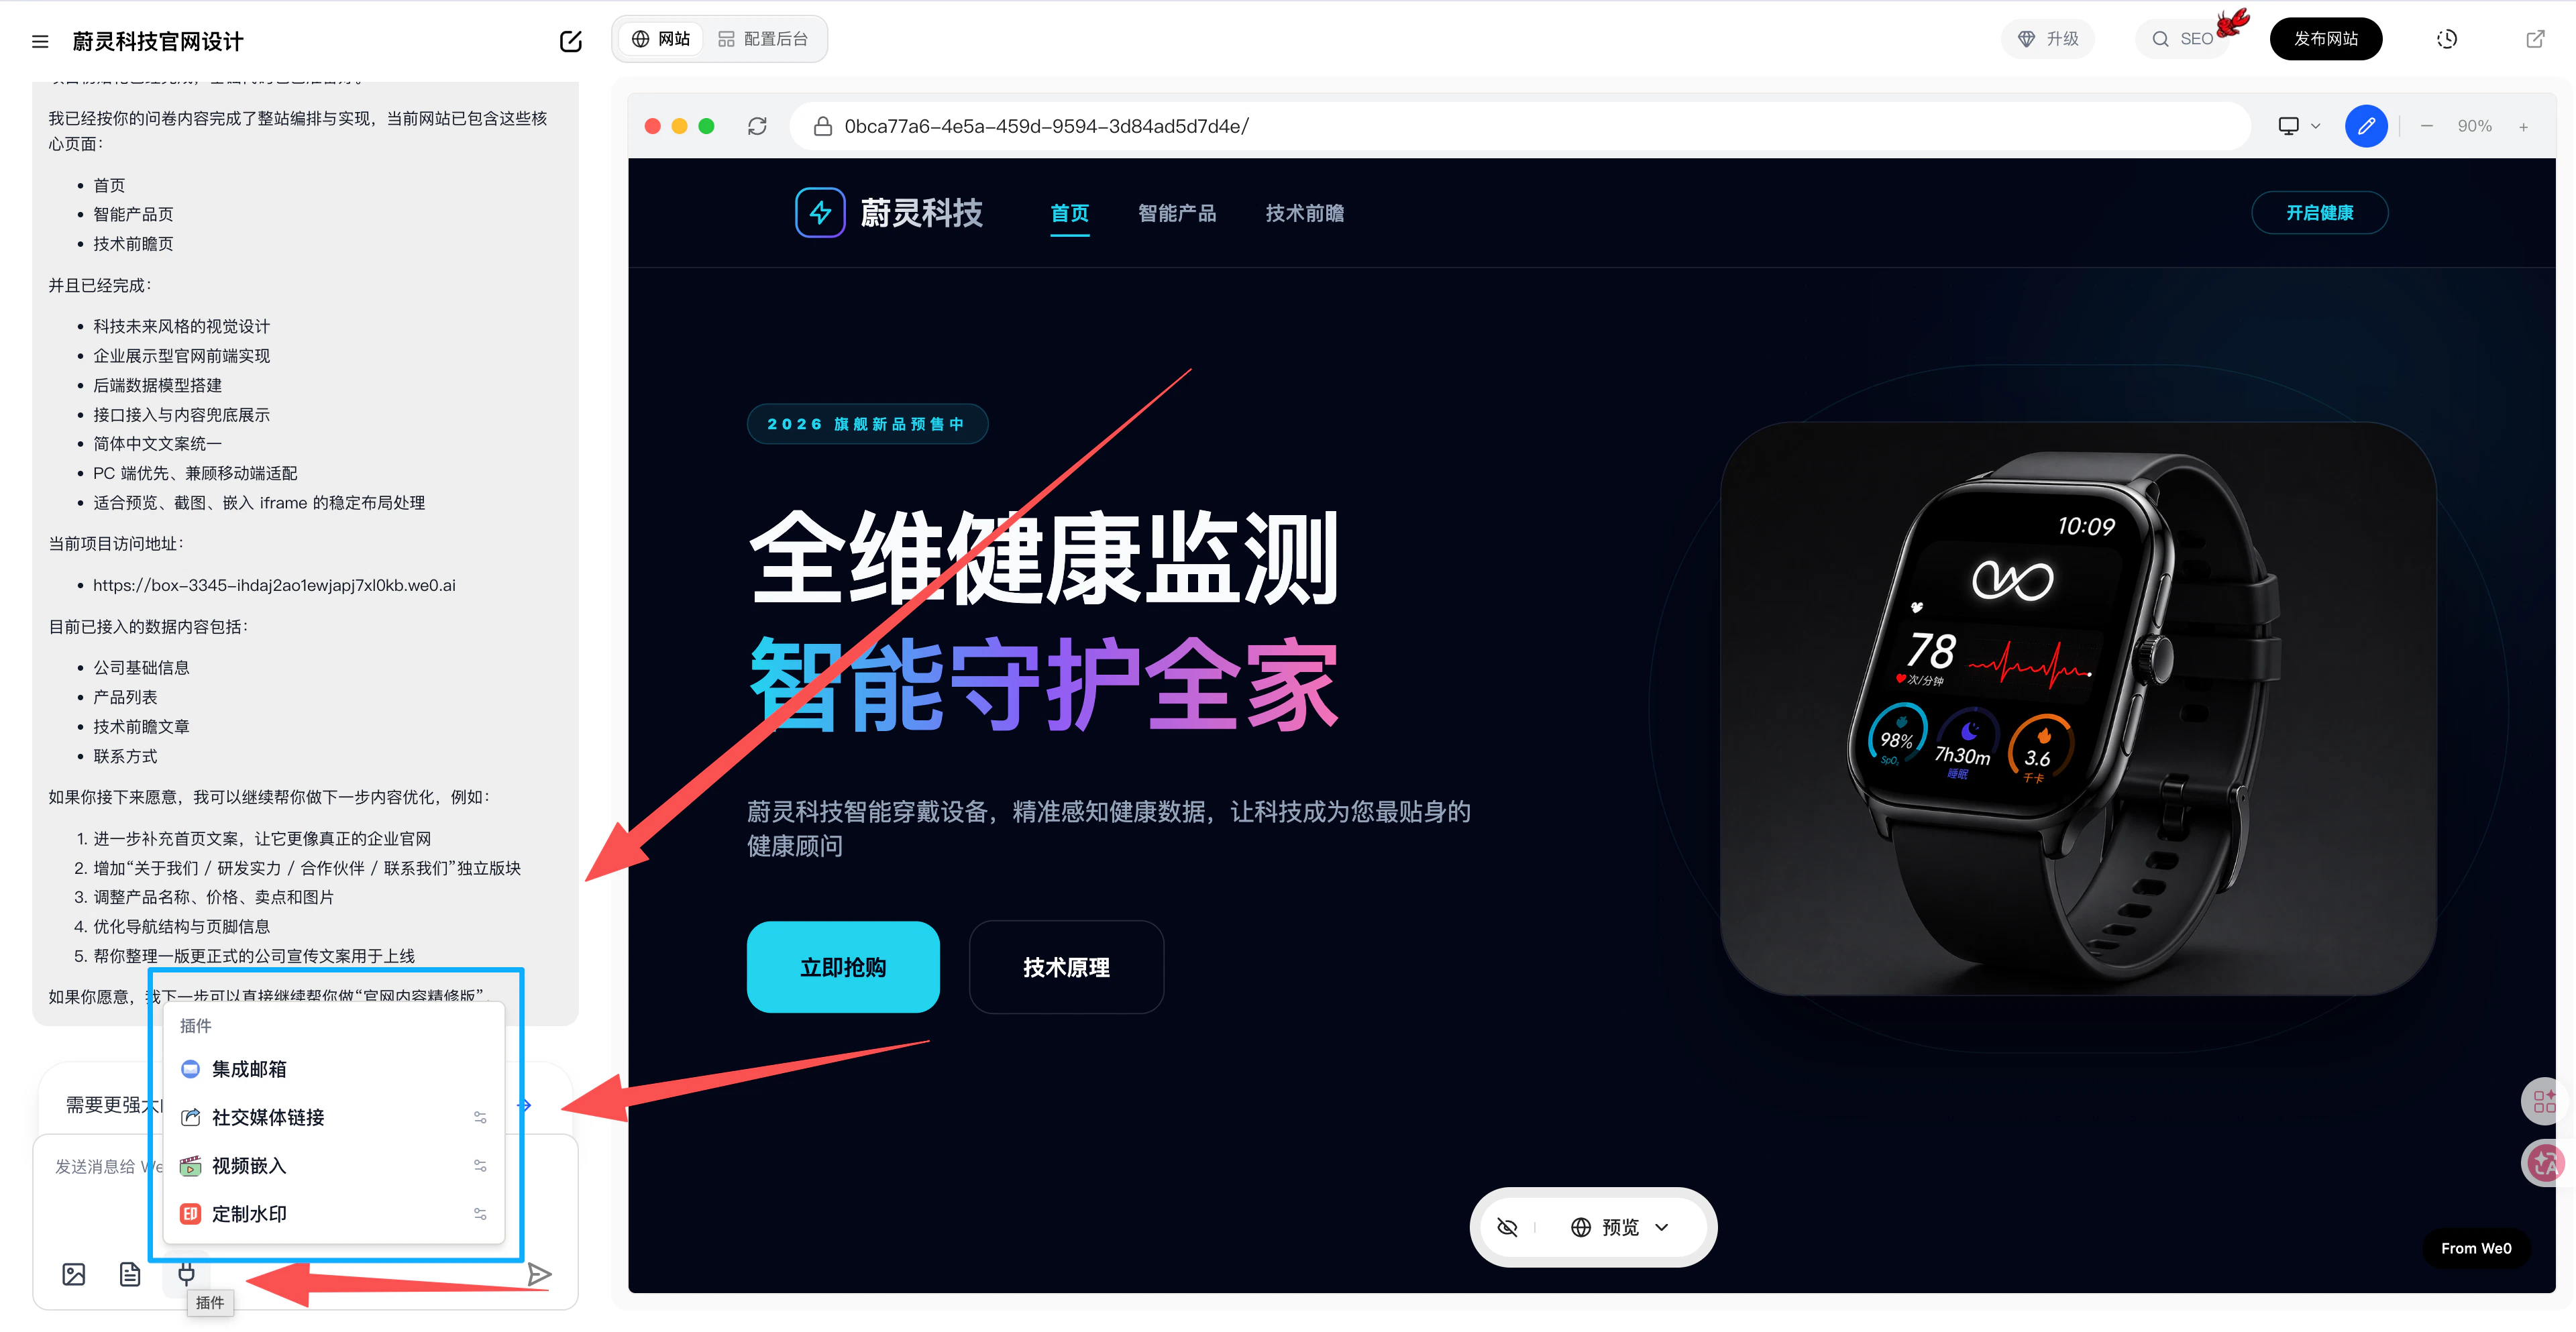
3. Plugin Extensions
- Email integration
- Social media links
- Video embedding
- Custom watermarks
We recommend finalizing core pages, copy, and conversion paths first, then considering plugin extensions — this approach is more stable.
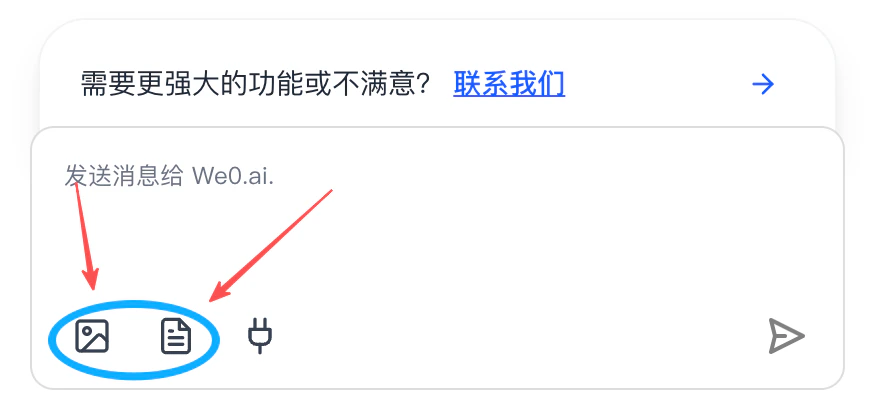
4. Images & Documents
During the preview stage, images and documents are often the key factors that determine a website’s “authenticity” and “completeness.”
The value of this content:
- Makes the website more than an empty shell
- Makes brand expression more authentic and credible
- Gives the AI more reference material for future optimization
- Helps users understand your business faster
Pre-launch checklist:
- Are images clear and copyright-cleared?
- Are documents the latest version?
- Are brand materials consistent?
- Are contact info, company name, and product names consistent throughout?
C. Practical Tips for Website Editing
- Edit structure first, then copy, then details — don’t start by obsessing over small styling tweaks
- Ensure the homepage, core pages, and conversion entry points are clear before enriching secondary pages
- Include goals with each edit request, such as “more professional,” “better for conversion,” or “more suitable for overseas audiences”
- For local issues, use section editing, box-select editing, or Magic Brush — you don’t always need to redo the entire page
- Check mobile view after every round of edits to avoid last-minute rework
- Before launch, browse through the homepage, key inner pages, form pages, and contact page at least once